

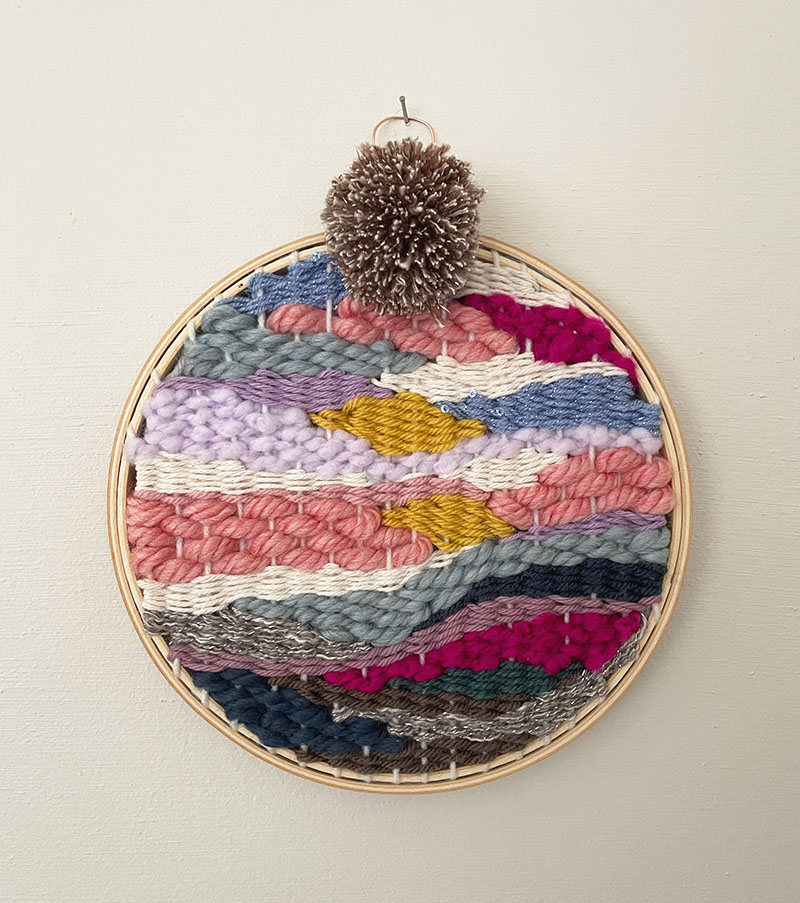
Round Doodle Weaving – ARTBAR
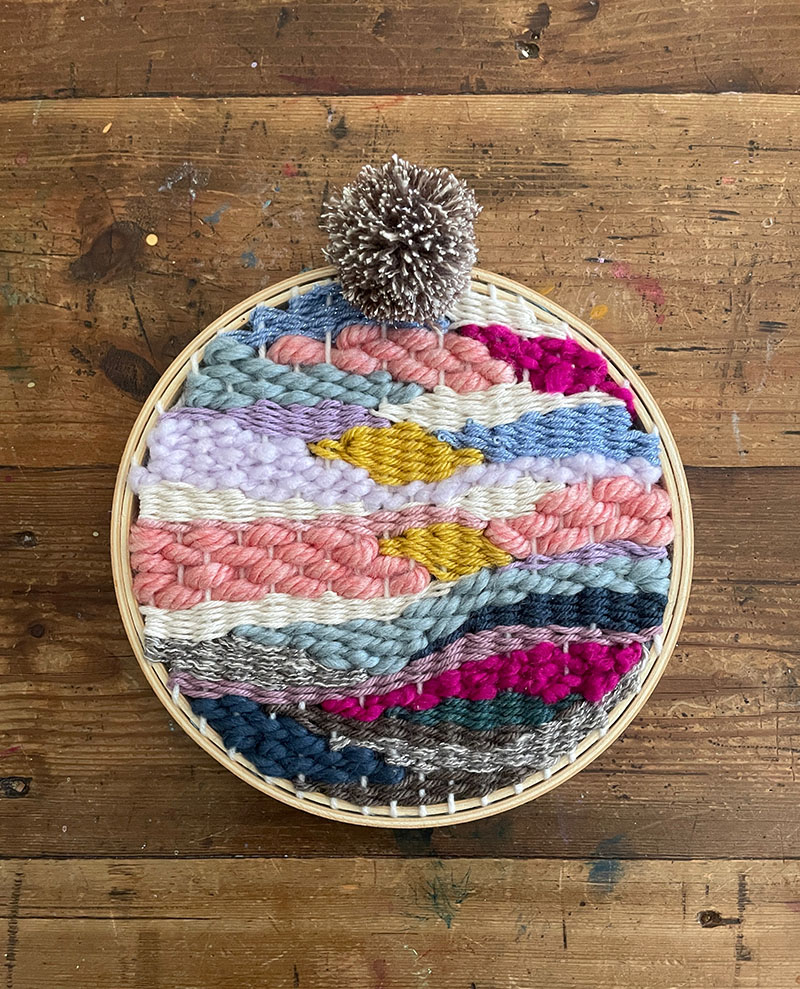
My head is regularly seeking to healthy in time to weave. I am these kinds of a novice, and don’t definitely have a type, but I really like participating in about with shade and shape. This time I tried out a spherical doodle weaving utilizing an embroidery hoop! I did not comply with anybody’s directions, I just made it up as I went alongside. I am confident there are much better techniques to do this, but I just used tape, yarn, and a glue gun.
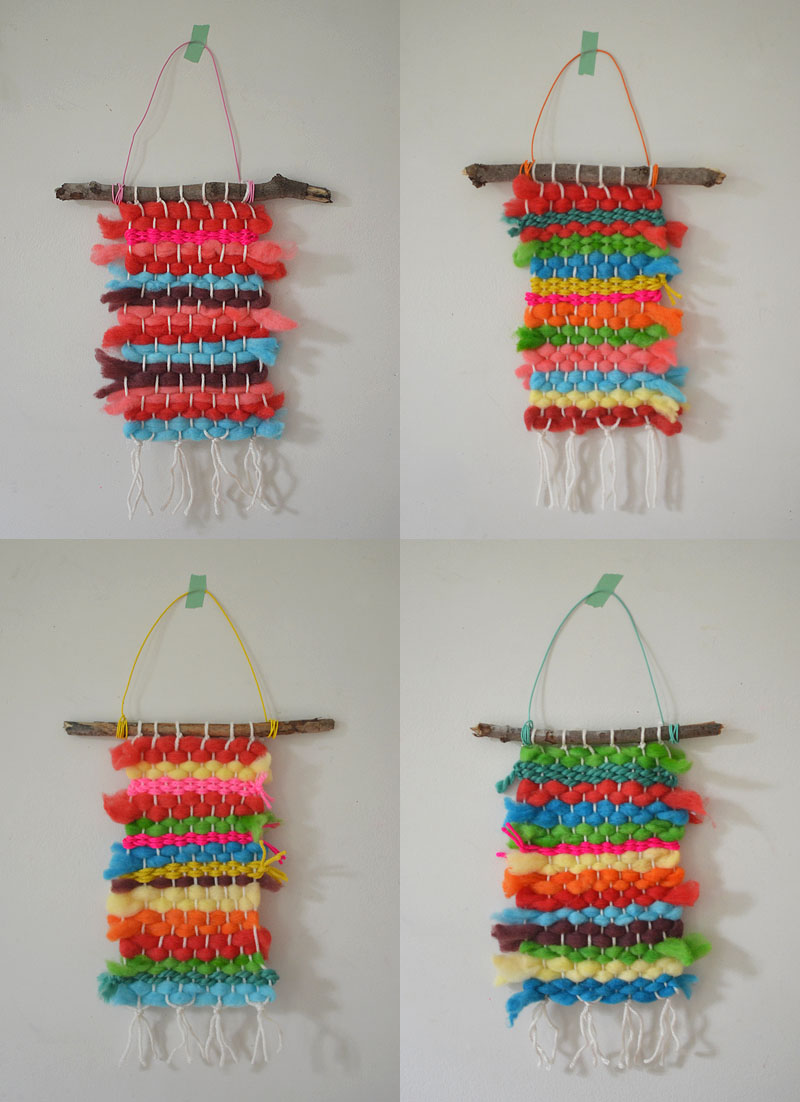
For a lot more in-depth instructions, see my to start with doodle weaving in this article. I made use of the very same system.
And if you want to see a shorter online video, click on here to check out my Instagram reel.
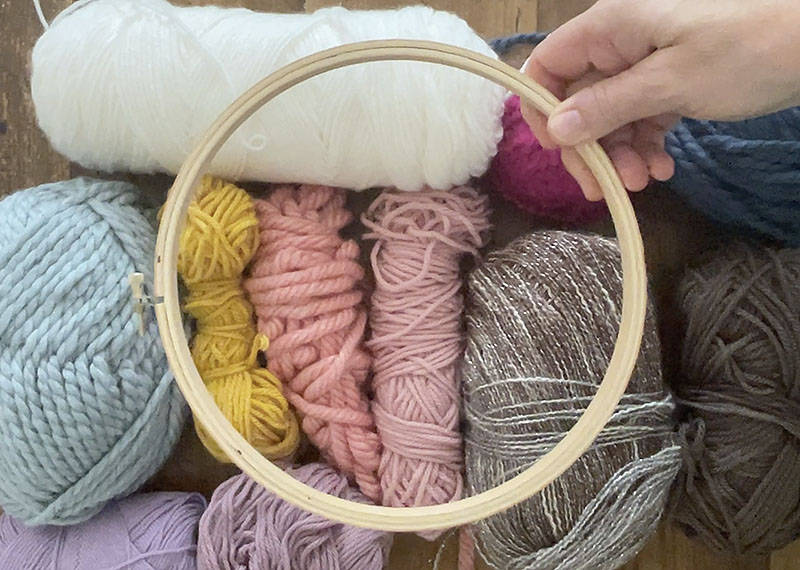
Provides necessary for round doodle weaving:
~ Yarn in distinctive colours and weights (you can go to a craft retailer or invest in on line – affordable yarn is just fine)
~ Wooden embroidery hoop (I utilised an 8-inch hoop)
~ Masking tape
~ Pom-pom maker (optional)

How to make a spherical doodle weaving:
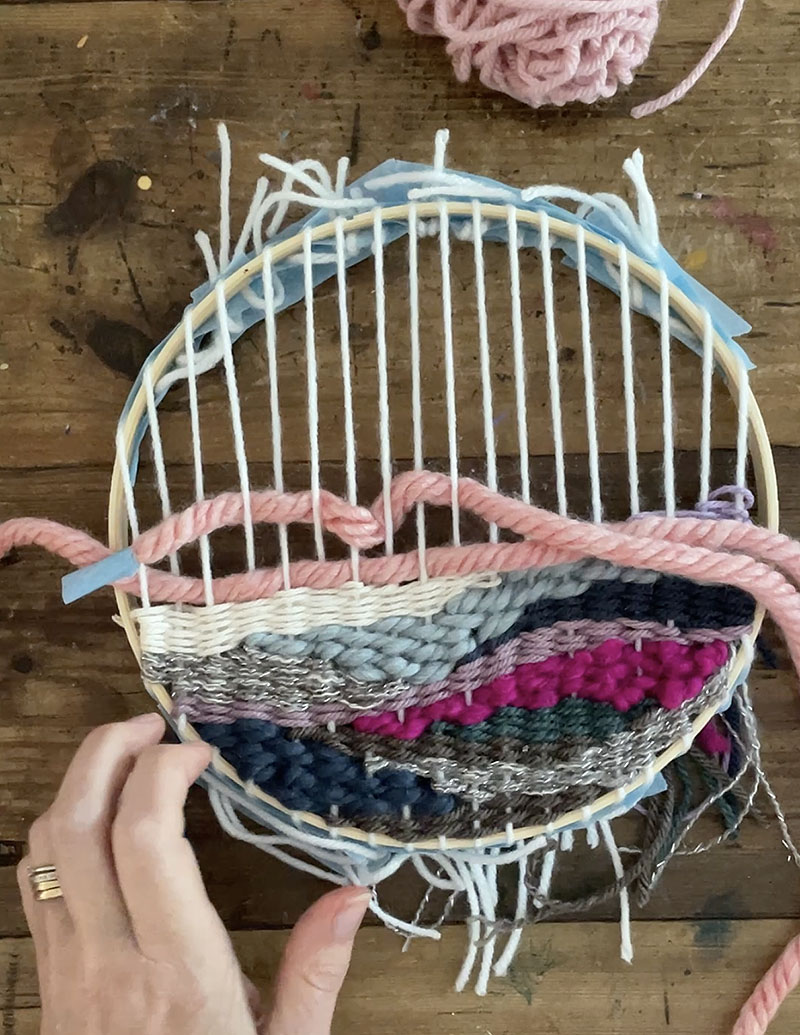
1. Established up the warp (these are the vertical threads). I did this by cutting a total bunch of threads and then taping them to the side of the hoop. I did not measure, just eye-balled. I also loosely taped the hanging threads up to the side which is why it appears to be like like there is so significantly tape.
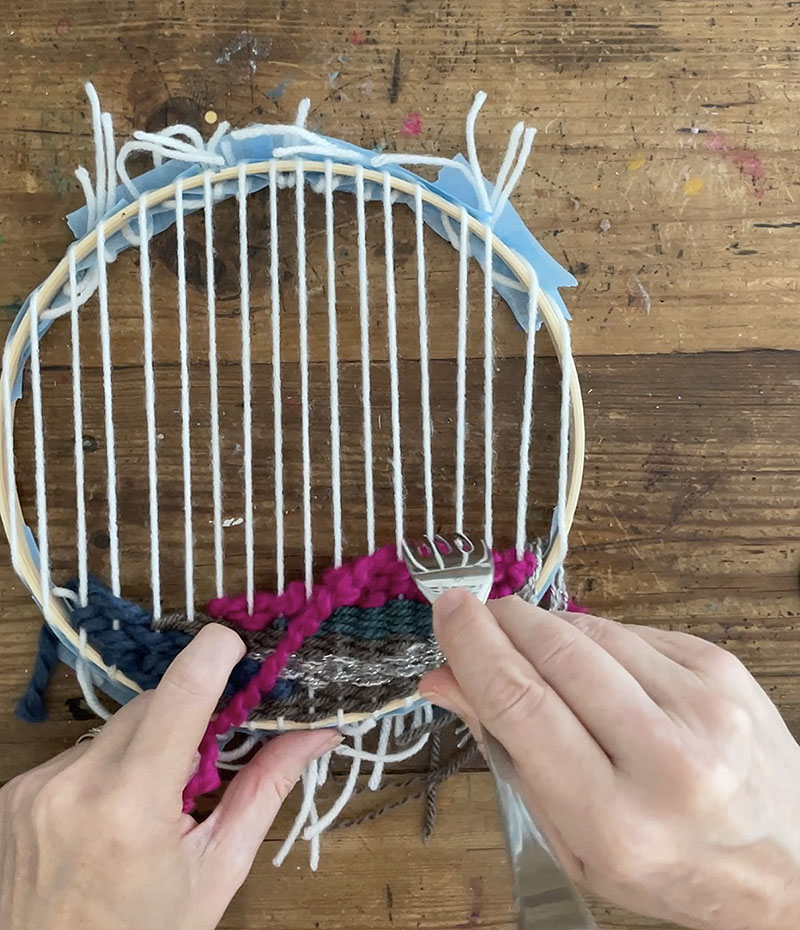
2. Commence weaving. Anything goes, here. Refer back to my first doodle weaving publish for a lot more specific guidelines. Just begin and conclude underneath. And use a fork to push down the weft (individuals are the horizontal threads).
3. I use a “shoelace” procedure when weaving whereby I wrap the end of the yarn with a piece of tape so that it’s easier to weave with. This is mainly because I are not able to find my plastic weaving needles. But it is also because I just can’t see very well plenty of to thread the needle. This method performs genuinely nicely for me. It is brief and easy.
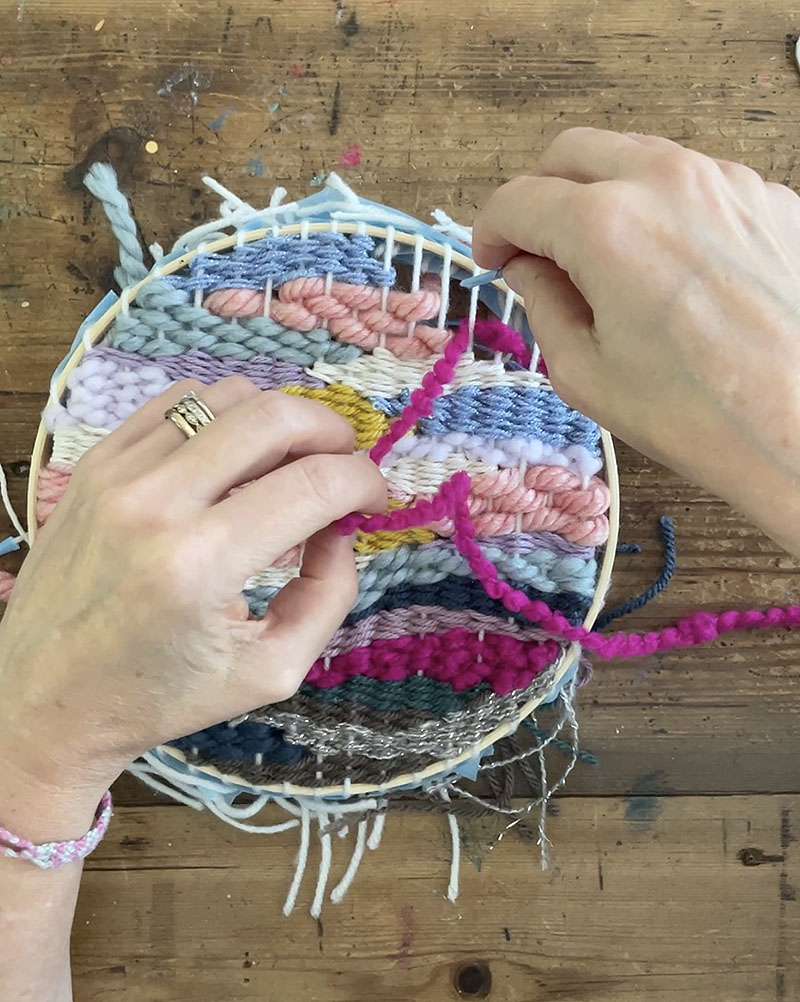
4. You don’t have to go from bottom to best when doodle weaving. You can begin everywhere and go all over until it’s all stuffed up. I ultimately want to weave like I would draw, but for now I instinctively go base to major. You can also go back again in and fill spaces if there are gaps. The fork really aids to make it all limited.
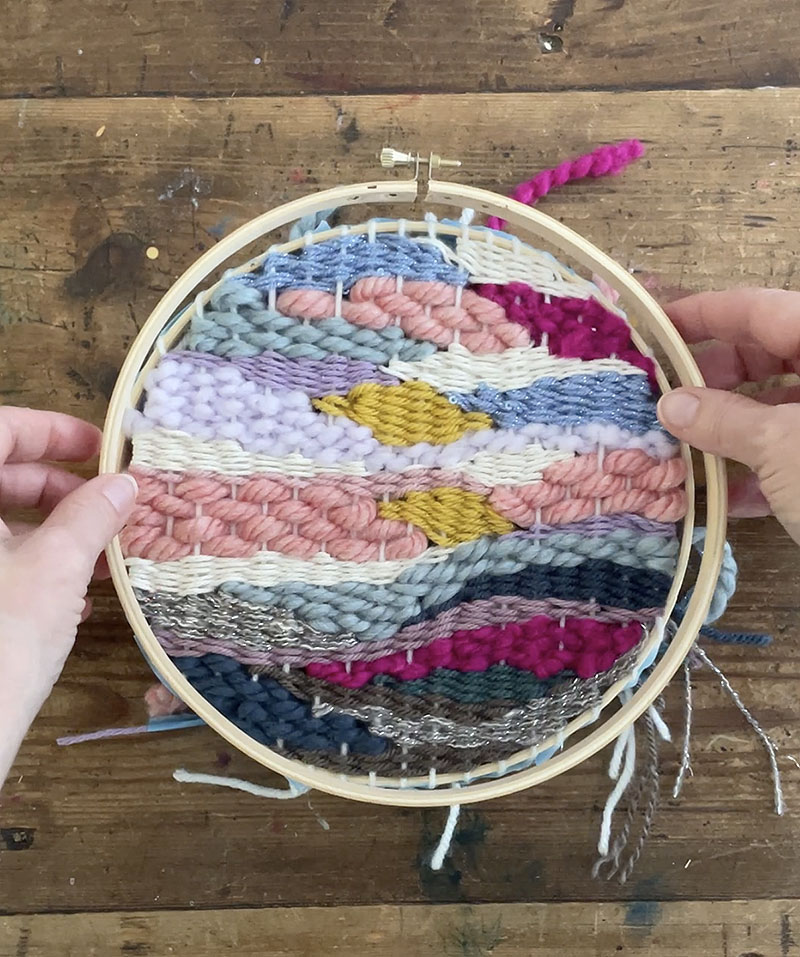
5. When finished, I pulled off the blue tape that I made use of to loosely keep the ends, but I left the tape that retains the warp. I designed absolutely sure you couldn’t see it when putting the outer hoop in excess of the interior hoop. Tighten the outer hoop as limited as you can.
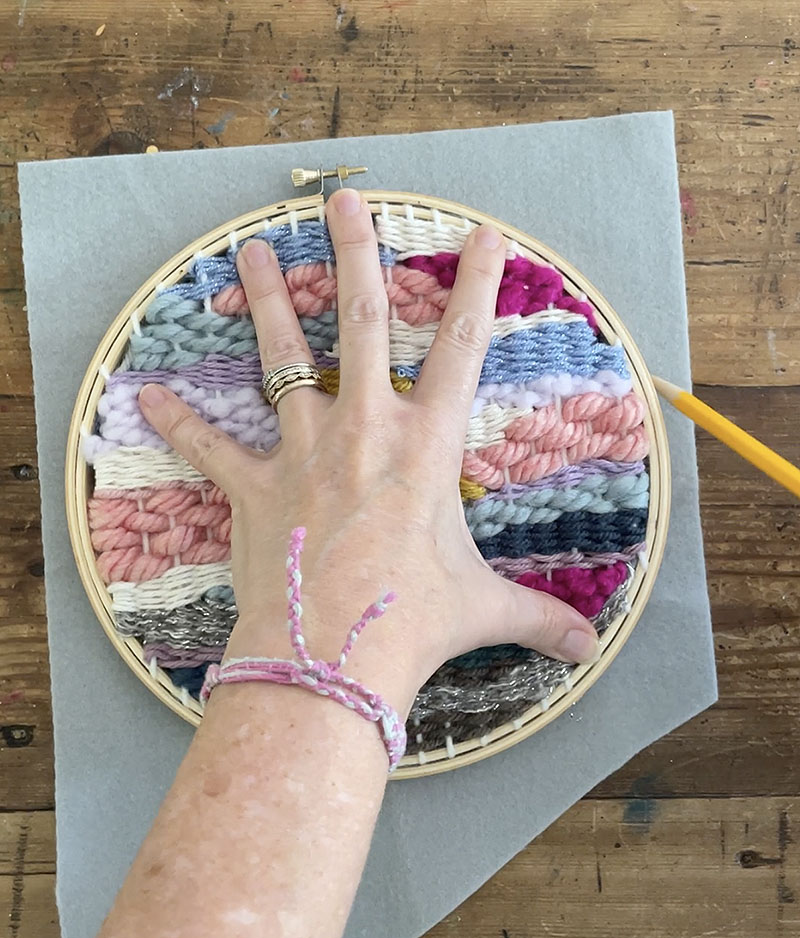
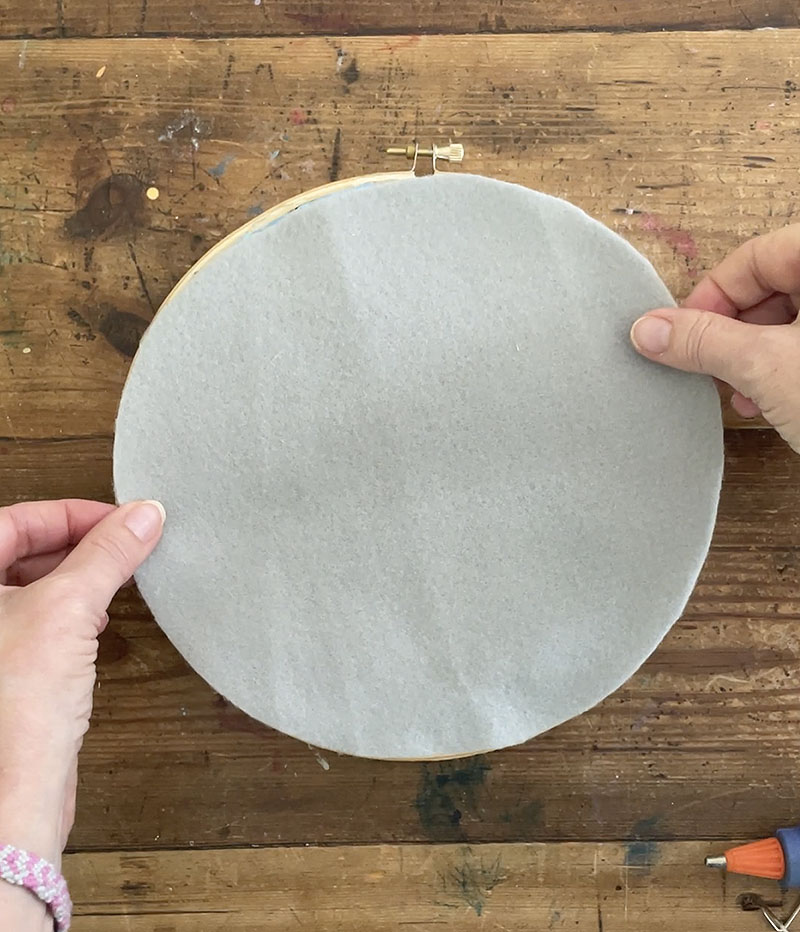
6. Trace the hoop on to a piece of felt with a pencil.

7. Sizzling glue the felt to the back. This is a really uncomplicated way to complete the weaving so you really do not have to deal with all the finishes!
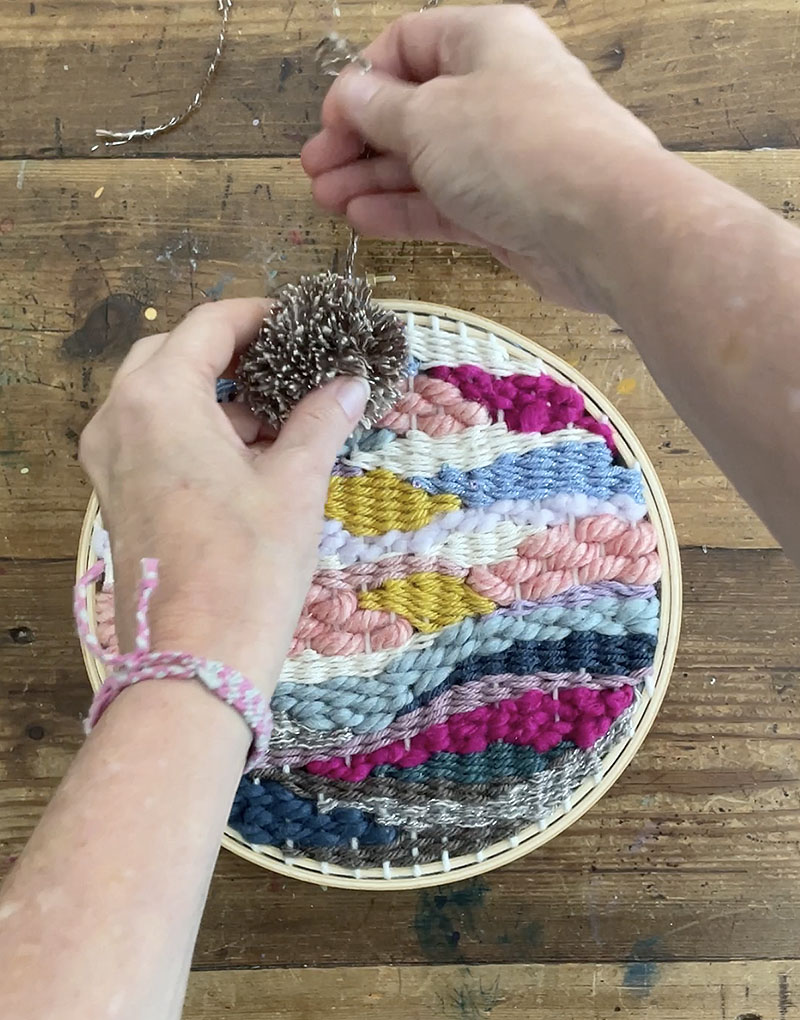
8. Make a pom-pom to cover the small knob on leading of the hoop. Include a piece of wire to hold!
Voila! Really do not ignore to check out the video!
xo Bar
– – – – – – – – – – – – – – – – – – – –
Did you like this write-up? In this article are more craft thoughts using yarn:
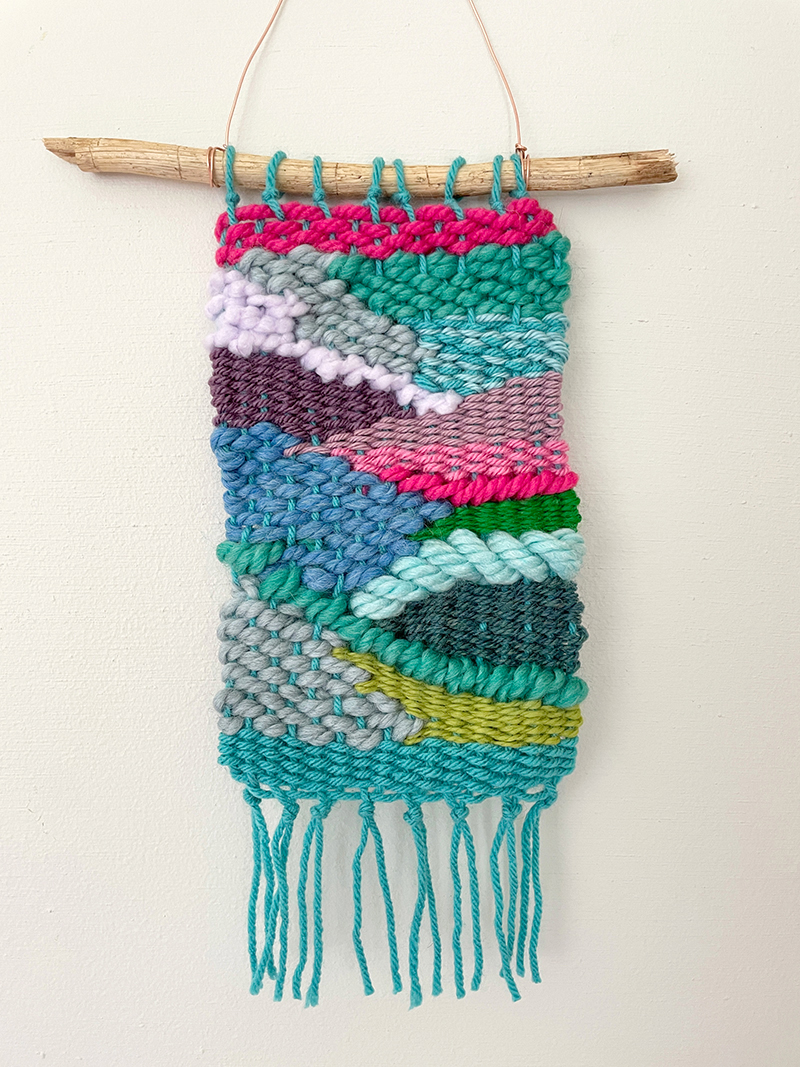
Doodle Weaving with a Cardboard Loom
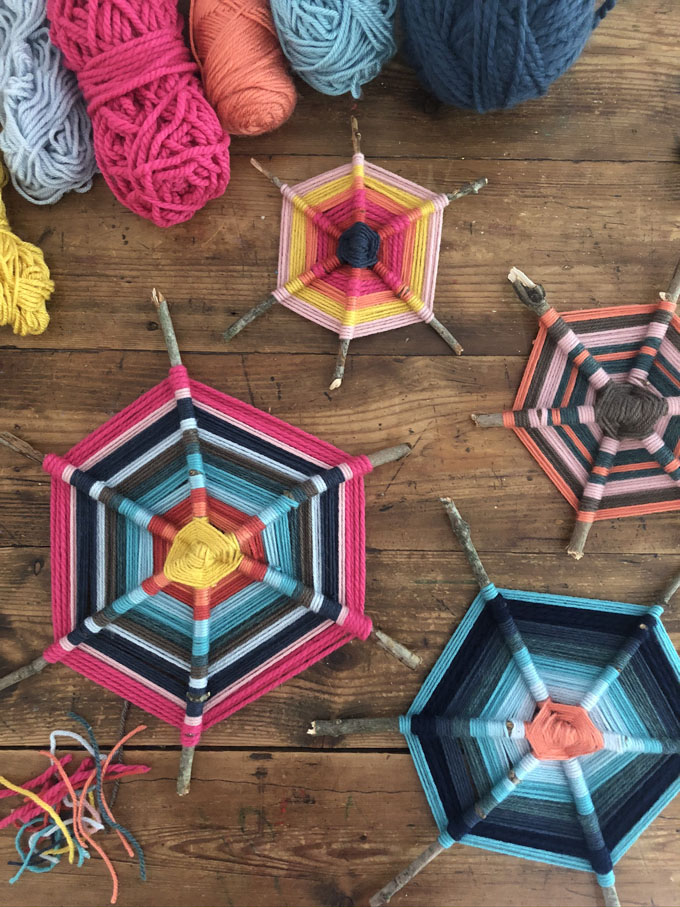
6-Pointed God’s Eye with Sticks
Rainbow Weaving with Koolaid Dyed Yarn